
Today’s blog post comes from Jaison Antoniazzi, a 20+ year OpenEdge expert from Brazil and author of two books in Portuguese on OpenEdge.
Jaison has embarked on an ambitious project for 2022: 365 days of Progress OpenEdge development tips, which he is sharing on LinkedIn!
Tip #2 - Creating a test database
Now that we have a shortcut opening the Desktop or the GUI Procedure Editor and the AppBuilder ready to develop (see Jaison's tip #1), I am throwing cold water... Calm down! We must create and set up the test database for what we are going to do!
We will follow these guidelines:
- Create the database folder in c:\develop,
- Create the test database,
- Register this database to upload automatically,
Create the database folder
Create the database folder inside c:\develop.
That's it for here...
Create the test database
Progress OpenEdge comes with a few databases (1K, 2K, 4K and 8K block’s database), including test databases, the most popular test database is Sports2000, and we also have Sports2020.
Let's go! Run our development shortcut (see tip #1).
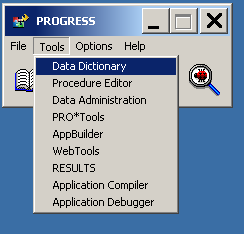
With Desktop or AppBuilder running, select from the Tools menu and Data Dictionary, as below:
If your shortcut is already connecting to databases, several should appear in the Data Dictionary…
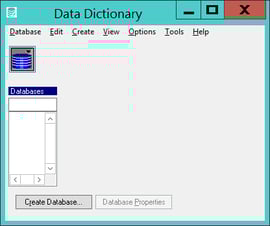
…or not! :D
The Data Dictionary allows us to add tables, fields, indexes and... databases... WOW!
There are several ways to create a test database, I will follow the easiest way...
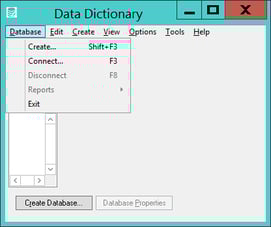
In the Database menu of the Data Dictionary select the Create option, a window with several options will appear...
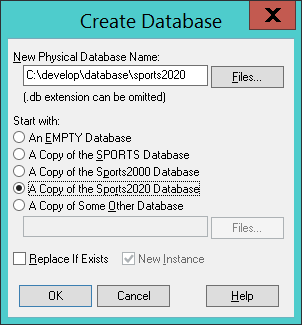
Enter C:\develop\database\sports2020 and check the option A Copy of the Sports2020 Database, now press OK to create the Sports2020 database in the database folder (I am a genius! LOL).
A window will appear to connect the database, but do not accept it, choose the Cancel button.
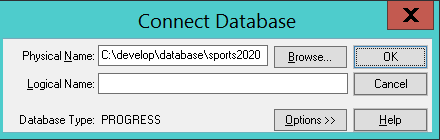
If you connect to the database, we will not be able to start the DB from OpenEdge Explorer, because it will be in use!
With this we complete the second step...
Set the database to auto-start
Now we must register the database so that it will be started automatically for multiuser access.
To do this locate a shortcut to the Management Console or OpenEdge Explorer in your Progress installation and launch it.
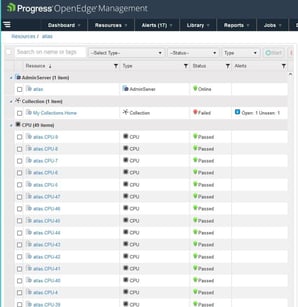
If this is your first access to the Management Console or OpenEdge Explorer, a login window will appear in your web browser, in this login you will have to make a mistake three times for the tool to ask for the login and password to be created. I used admin user and password admin until the registration window appeared and then the window below appeared, for you it will look something like this - in my case I already had access so I will have more options displayed than you on your first access.
Go to Resources and Database to create a database resource: this is how we register a database in the OpenEdge Explorer or Management Console. Enter the required values, notice that I have selected the Autostart Database Broker option. Check this if you want this database to be started automatically.
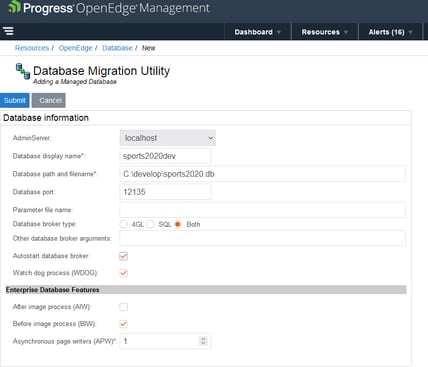
Remember this information Database Port is the IP port that the database will receive connections from and which we should use for connections.
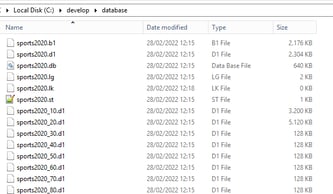
Once this is done, our database should load and a file sports2020.lk will appear in the database files folder. This file indicates that the database is running (sometimes not).
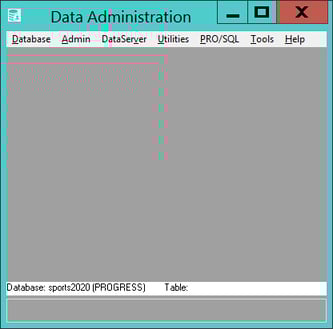
We are not done yet! We need to create the pub user for our other environment to work as well, yes, we will use Developer Studio. To create a user to access the database go to Tools / Data Administration.
Now go to the Admin / Security menu and Edit User List...
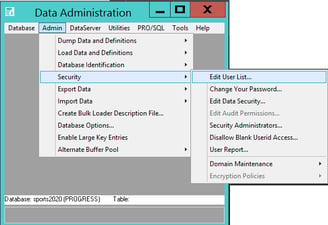
Create a user (Add button), I created a user named pub, with the password pub (be careful with passwords).

That's it for today, next tip coming soon.